
How to Enable and Configure Chat for Live Broadcasts in Boomstream
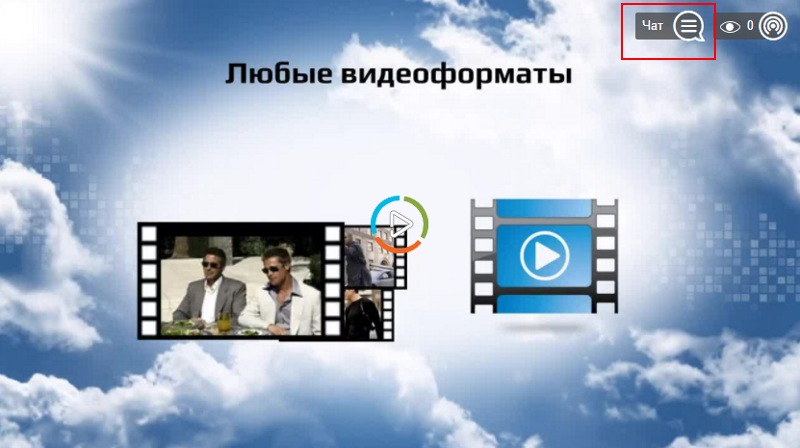
The Boomstream platform features a built-in chat for live broadcasts, located directly within the video player to ensure seamless viewer interaction during your streams.
How to Activate Live Chat
To enable the chat feature, follow these simple steps in your dashboard:
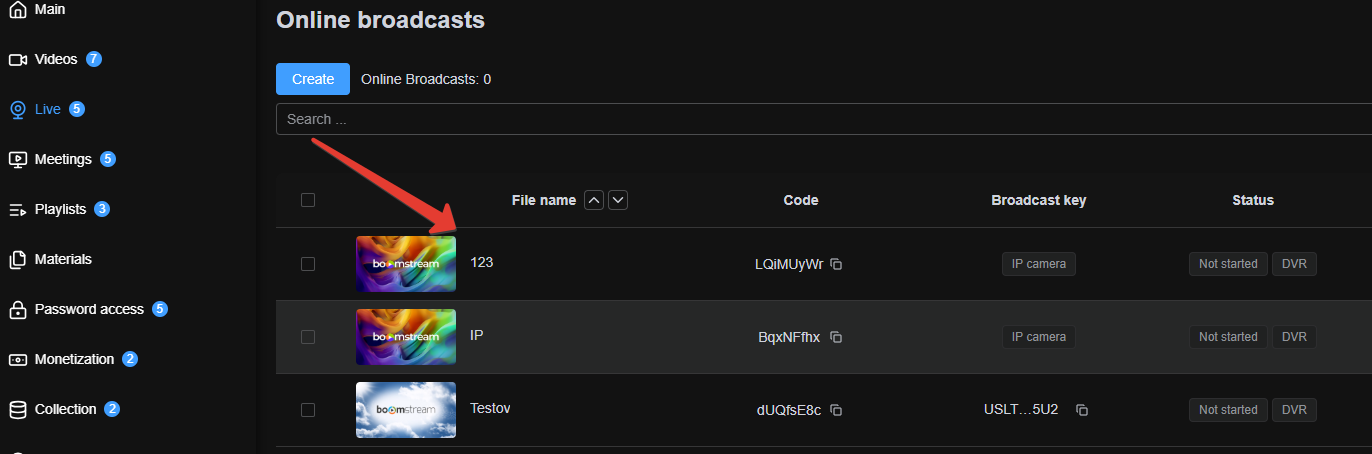
- Navigate to the Online Broadcasts section and click on the name of your specific broadcast.
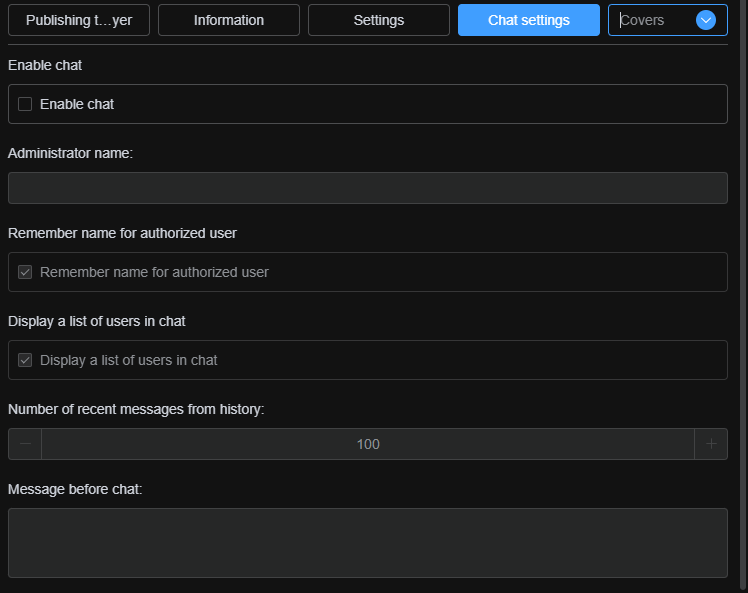
- In the broadcast settings, go to the Chat Settings tab.
Live Chat Settings Explained
Configure the chat behavior using the following options:
| # | Setting | Description |
|---|---|---|
| 1 | Enable chat | Check this box to activate the live chat feature. |
| 2 | Your nickname | Enter your display name as the broadcaster or administrator. |
| 3 | Save viewer's name in cookies | Persists the viewer's name across page reloads for seamless authorization. |
| 4 | Show viewers | Displays the names of all authorized viewers currently in the chat. |
| 5 | Message history | Specify the number of recent messages to display in the chat history. |
| 6 | Pinned message | Enter a message to pin permanently at the top of the chat window. |
Chat Interface Overview
The chat panel can be toggled between collapsed and expanded states:
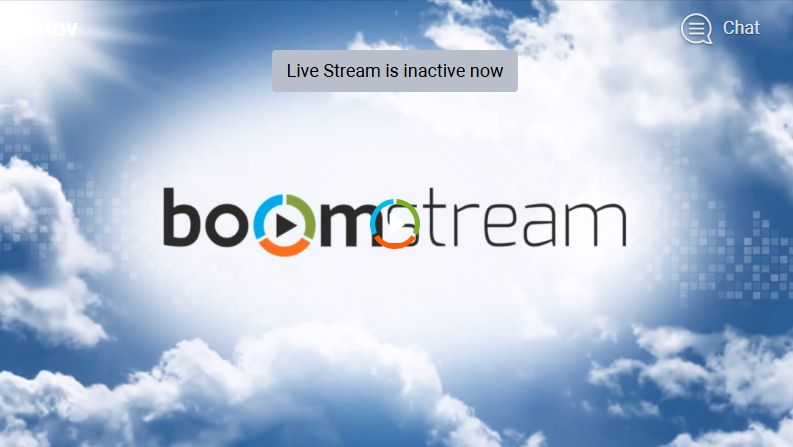
- Collapsed: Appears as a small chat icon in the upper right corner of the player.
- Expanded: Shows the full chat window. Viewers must enter their name to send a message. Clicking the chat icon again will collapse the panel.

Quick Setup Checklist
| Step | Action |
|---|---|
| 1 | Go to Online Broadcasts and select your broadcast |
| 2 | Open the Chat Settings tab |
| 3 | Enable the chat and configure your preferred settings |
| 4 | Viewers can now enter their name and participate in the live chat |
✅ Done!
Your live broadcast is now equipped with an interactive chat, allowing your viewers to communicate with you and each other in real time.